When you’re running a small business, standing out locally isn’t just about good service anymore — it’s about smart marketing. Whether you own a neighborhood cafe, a salon, a coaching center, or a home-based boutique, connecting with your community digitally can give your business a serious edge. And here’s a tool that can make it happen with almost zero effort: QR codes.
These little black-and-white squares are everywhere now — and for good reason. They offer a quick, no-contact way for customers to access your website, book an appointment, follow you on Instagram, or even leave a Google review. The best part? You can create a branded QR code in Canva in just minutes — no tech skills or expensive software needed.
Let’s walk you through how to create a QR code in Canva, and how to use it as a simple but powerful branding tactic that brings real-world results.
Why Every Local Business Needs QR Codes (And How to Make One in Canva)
If you run a local business — maybe a bakery, a yoga studio, or a retail shop — you’ve probably noticed how fast the world is shifting online. But here’s the thing: you don’t need to go fully digital to stay competitive. You just need to bridge the gap. That’s where QR codes come in.
Think of a QR code as your digital handshake. With a quick scan, customers can:
-
Jump straight to your website
-
Open your booking calendar
-
Leave a Google review
-
Send you a WhatsApp message
-
Or follow you on Instagram — all in seconds
It’s no wonder these little square codes are popping up everywhere. In fact, according to HubSpot, nearly half of consumers used a QR code in 2023 to connect with a business. That number is only going up
What You’ll Need Before You Begin
Setting this up is easier than you think. Here’s what you’ll need:
-
A free Canva account (or Pro if you want advanced options)
-
The URL you want to link (this could be anything — your homepage, a contact form, or a payment link)
-
About 10 minutes of quiet time — seriously, that’s all it takes
✅ How to Create a QR Code in Canva (Step-by-Step)
Let’s get right into it. Here’s how to make your own branded QR code using Canva — no tech headaches required.
Step 1: Start a New Design in Canva
Go to canva.com and sign in. Click on “Create a Design” and select the format you need — business card, flyer, poster, or custom size depending on where you’ll use the QR code.
Canva even offers ready-to-use templates that make the design process super smooth.
Step 2: Access the QR Code Generator
Look at the left-hand sidebar and click “Apps.”
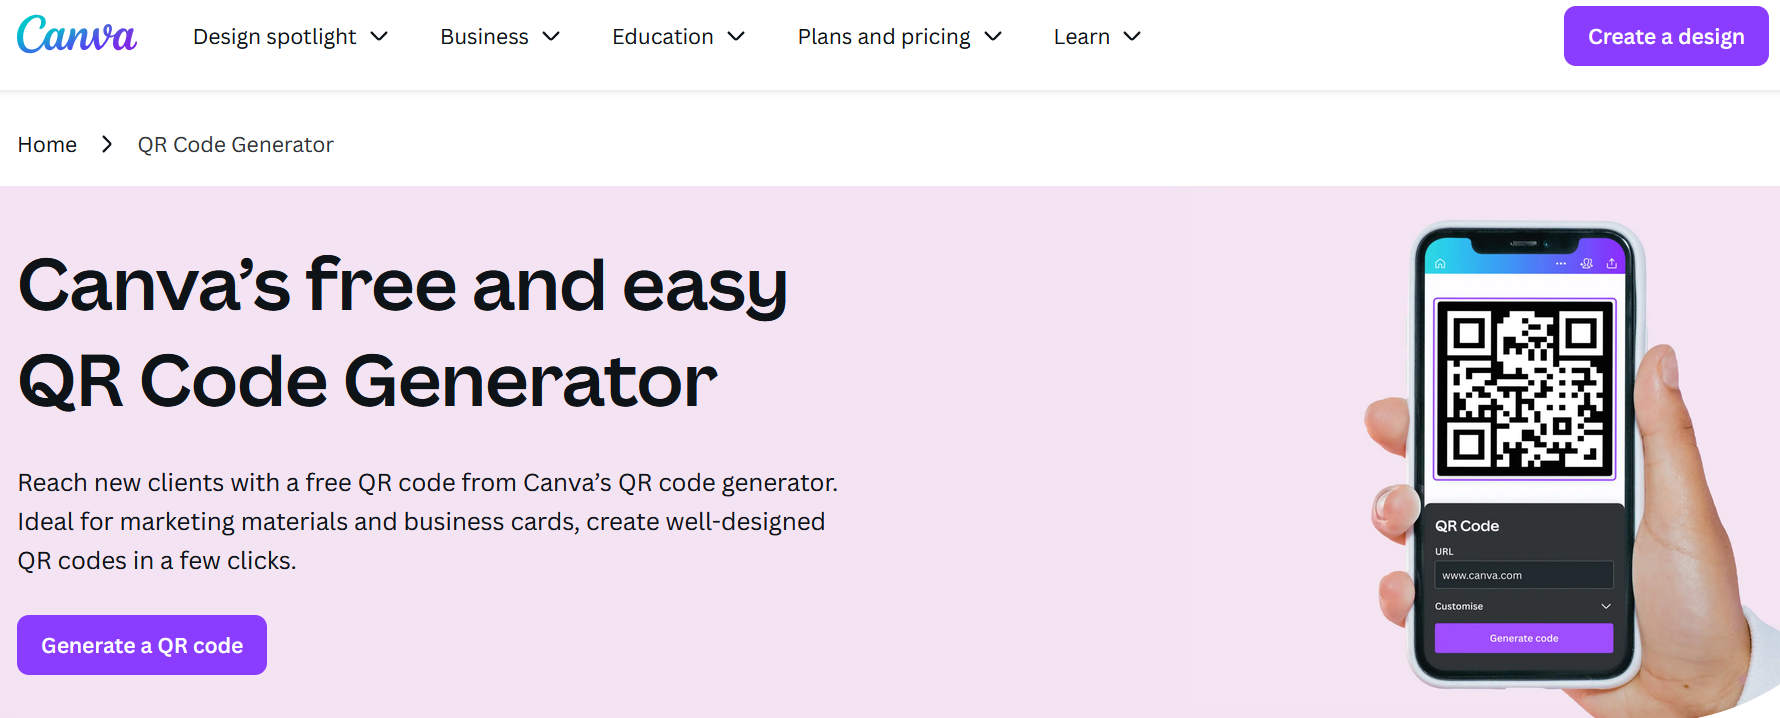
In the search bar, type “QR Code” and select Canva’s built-in QR Code Generator — it’s free, reliable, and super easy to use.

👉 CANVA QR Code Generator its Free To Use
Step 3: Enter Your Link
Paste the URL you want your QR code to direct people to. This could be your online store, appointment page, or your Wix Infotech contact form.
✅ Pro tip: If the link is long or has tracking data, you might want to shorten it using Bitly to make scanning quicker and cleaner.
Once you paste the link, click “Generate QR Code.” You’ll see it appear on your canvas immediately.
Step 4: Customize the Design Around the Code
You can’t change the shape of the QR code itself, but that doesn’t mean you can’t style the overall design to fit your brand. Here’s how:
-
Add your logo close to the code
-
Use a frame or shape to highlight it
-
Match the background and accent colors to your brand
Just make sure nothing overlaps the code — it needs to stay clear and high-contrast for scanners to read it properly.
Step 5: Test Before You Print or Share
Before putting it out into the world, scan the QR code with your phone. You want to confirm:
-
It leads to the right destination
-
It works on both Android and iOS devices
-
It’s readable at different sizes (small and large)
If everything checks out, go ahead and download the final design as a high-resolution PNG (for online use) or PDF (for print materials).
From design to print, Canva can do it all — and so can you. If you’re preparing your QR code for physical materials, be sure to read our full Guide on how to print from Canva the right way to make everything look as polished as your brand.
How to Print from Canva the Right Way – Entrepreneur’s Guide to Fast & Flawless Prints
🎯 Where and How to Use Your Canva QR Code
Now that your code is ready, let’s make sure it works for you. Here are smart places to put it:
-
On product packaging – Link to a how-to video, care tips, or digital warranty.
-
At your front desk or counter – Ask customers to leave a Google review.
-
On printed flyers or banners – Connect to limited-time promotions or coupons.
-
During community events or expos – Let people scan your info instead of handing out brochures.
-
On invoices or delivery bags – Offer a discount for repeat orders or feedback.
Each QR code turns a simple moment — like checking out at your store or seeing your ad — into a direct connection with your digital world.
💼 Want a More Polished, Branded Look?
If you’d rather not DIY everything, Wix Infotech can help.
We work with small businesses across industries to create professional, branded designs that include print-ready QR codes, custom marketing assets, and even full website design.
Visit our services page to explore what we offer or contact us for a free consultation.
🔎 More Resources
Here’s where you can learn more or take the next step:
🧠 Final Thoughts
QR codes may look simple, but when used correctly, they’re powerful tools for connecting with customers, collecting reviews, boosting website traffic, and more. And with Canva, you don’t need any special skills to create one that looks clean, professional, and brand-friendly.
Now that you know how to create a QR code in Canva, why not try adding one to your next flyer, product label, or ad?
🚀 Ready to Level Up?
Don’t let your local business miss out on simple tools that make a big difference.
👉 Reach out to Wix Infotech for help designing branded marketing materials, websites, or QR-powered strategies that convert.

